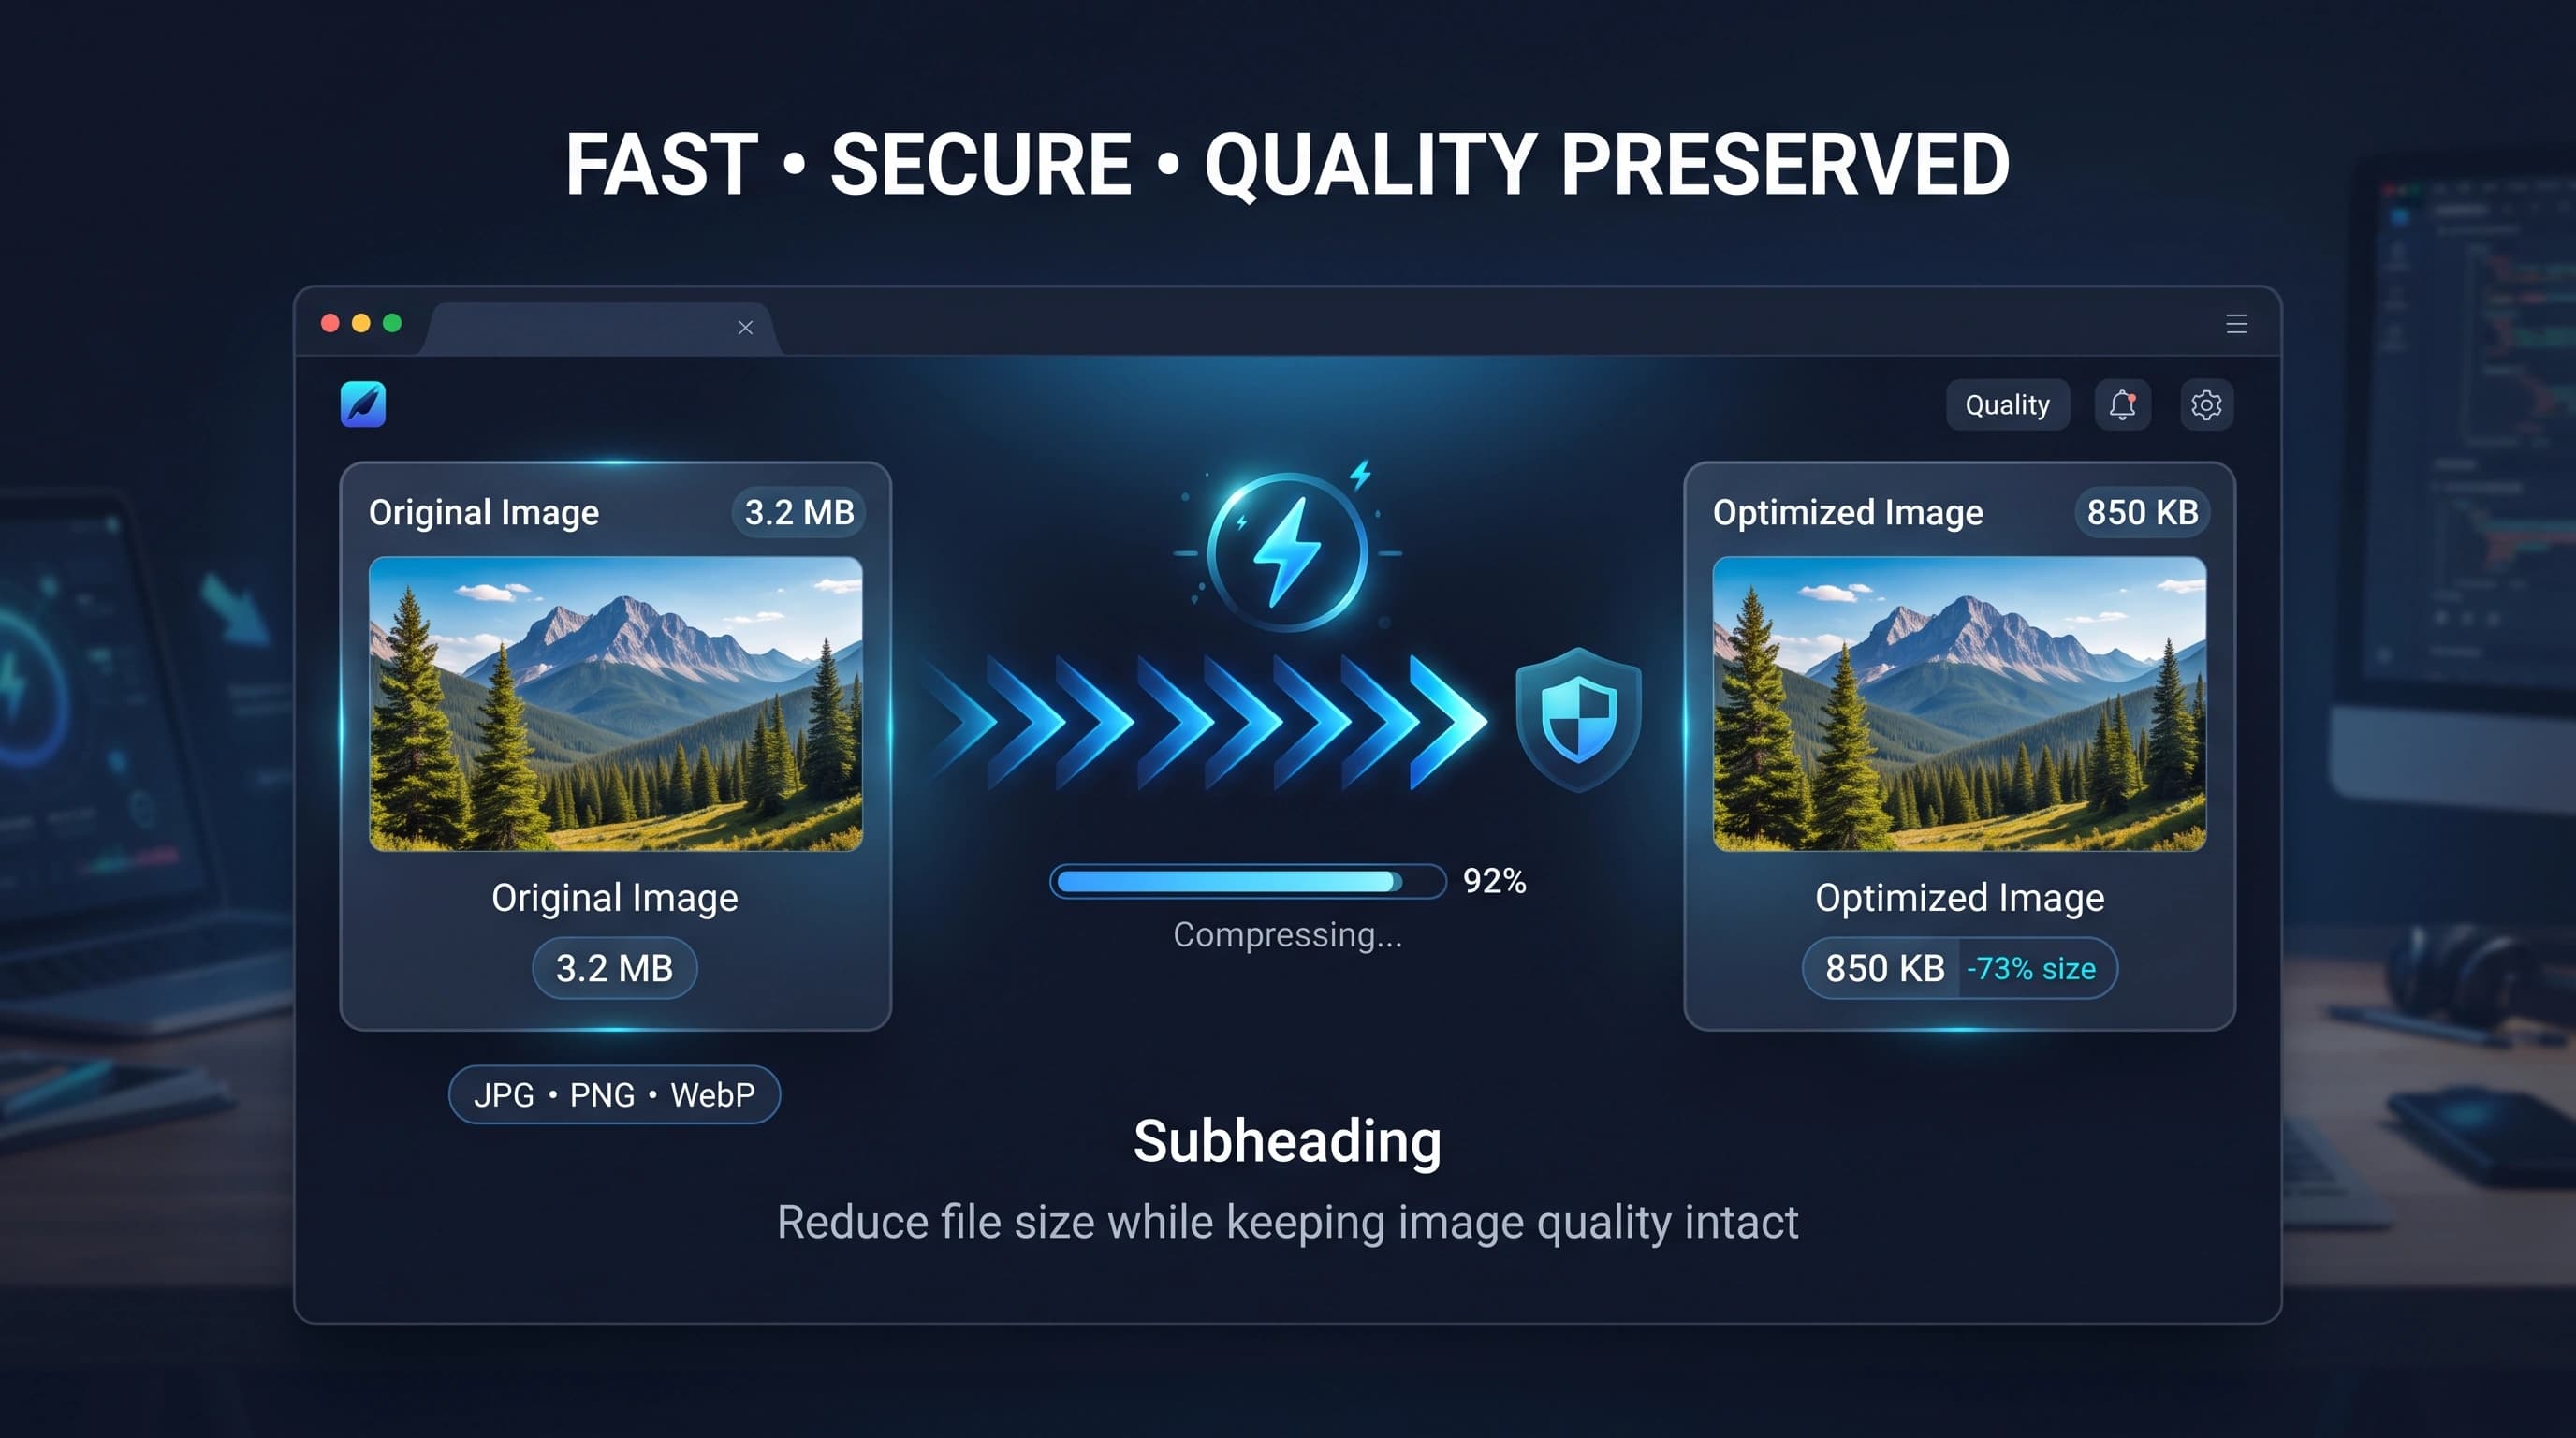
How to Compress Images Without Losing Quality
If you have ever tried to upload a photo to your website and watched the page load time creep up, you already know the problem. A single uncompressed photo straight out of a modern phone camera can easily be 4-8MB. Multiply that by a dozen product photos or blog images, and your site is suddenly dragging its feet before a visitor has even seen anything.
The good news is that "smaller file size" and "good quality" are not opposites. Most of the weight in a typical JPEG or PNG is redundant data your eyes never actually notice is missing. Compression tools are built to find and remove exactly that kind of waste.
Why This Actually Matters
It is easy to treat image size as a minor detail, but it adds up in ways that affect real outcomes:
- Page speed: Images usually make up the bulk of a webpage's total weight. Google has confirmed multiple times that load speed is a ranking factor, and it is also the single biggest reason visitors bounce before the page even finishes loading.
- Mobile data: Not everyone is on unlimited fibre. In a lot of countries, users are still paying per MB, so a lighter page genuinely saves them money.
- Storage: If you are running a blog or an e-commerce store with hundreds of product images, the difference between 2MB and 200KB per image adds up to serious server space over time.
- User patience: Studies on this have been done for years and the number barely changes — most people give up on a page after about 3 seconds of waiting.
Picking the Right Format First
Before you even touch a compression tool, the format you choose matters more than most people realize.
JPEG is still the standard for photographs. It handles gradients, shadows, and complex colour transitions well, and it compresses aggressively without the result looking obviously "off."
PNG exists for a different job entirely. It is lossless, which is great for logos, screenshots, and anything with transparency or sharp edges, but it is a poor choice for photographs since file sizes balloon quickly.
WebP, developed by Google, is now the closest thing to a best-of-both-worlds format. It typically produces files 25-35% smaller than an equivalent JPEG at the same visual quality, and it supports transparency like PNG. The only real downside used to be browser support, but that stopped being an issue years ago — virtually every modern browser renders WebP natively.
Lossy vs Lossless — What's the Difference
This is where most of the confusion comes from. Lossless compression shrinks the file by cleaning up inefficient data storage, but the image comes out pixel-for-pixel identical to the original. Lossy compression goes further — it selectively discards detail that the human eye is least likely to notice, like subtle colour variations in a busy background. The trade-off is real but the sweet spot is usually forgiving: compressing a JPEG down to around 70-80% quality often cuts file size in half with a difference that's nearly impossible to spot without zooming in.
A Few Habits That Make a Real Difference
- Resize the image to the dimensions it will actually be displayed at before compressing. Uploading a 4000px-wide photo for a 600px-wide thumbnail wastes both bandwidth and compression efficiency.
- Don't run the same file through compression repeatedly. Each lossy pass throws away a bit more detail, and the quality loss compounds.
- Keep an untouched original somewhere safe. If you ever need to re-edit or resize the image later, you'll want the source file, not a heavily compressed copy.
- For photography-heavy pages, WebP first, JPEG as a fallback, is usually the best strategy.
Compressing an Image, Step by Step
- Upload your image file — JPG, PNG, or WebP all work.
- Choose a compression level. If you're not sure, start around 75-80% quality and compare it against the original.
- Preview the result before downloading. A good tool will show you the before-and-after file size difference.
- Download the compressed version and swap it in wherever the original was being used.
Wrapping Up
Compression isn't about sacrificing quality — it's about cutting the parts of a file that were never adding visual value in the first place. Once you build the habit of compressing images before uploading them, you'll notice pages loading faster, storage bills shrinking, and visitors sticking around longer instead of bouncing off a slow page.